Tips & Tricks ∞
How does not using an original charger is concerning, we all know after experiencing breaking of charger or misplacing people tend to buy a cheap charger over an original one which can cause various unnecessary power retension in devices such as stoppage of charge percentage at some point ,charging in reverse order or instant drop of battery percentage.
Nowadays ,some companies came up with an idea to remove charger from the box to provide it separately.
For example, Apple (one of the largest MNC in Technology) had taken a decision to remove chargers from their boxes. Apple says the above mentioned decision has been taken to meet its environmental goals. The company wants to become carbon-neutral by 2030.Removing chargers and earphones would mean smaller and lighter packaging, allowing “70% more boxes to be shipped on a pallet.
Taken altogether, these changes will cut over 2 million metric tons of carbon emissions annually, equivalent to removing nearly 450,000 cars from the road per year”.
Source:
(counterpointresearch.com)
There are multiple occasions on which one might need to take a screenshot. You may be a professor who is explaining a procedure to their students digitally, or you may be a friend helping another friend or a family member navigate through their brand-new iPad and understand its functions, that too sitting at your home. Whatever the situation is, in case you’re not sure how to take a screenshot on an iPad, we’ve got your back. To tell you, taking a screenshot on an iPad is a cakewalk, irrespective of the model that you’re using. Here are the top 3 best ways how to take a screenshot on your iPad in 2022.
Take A Screenshot By Pressing Buttons On iPad
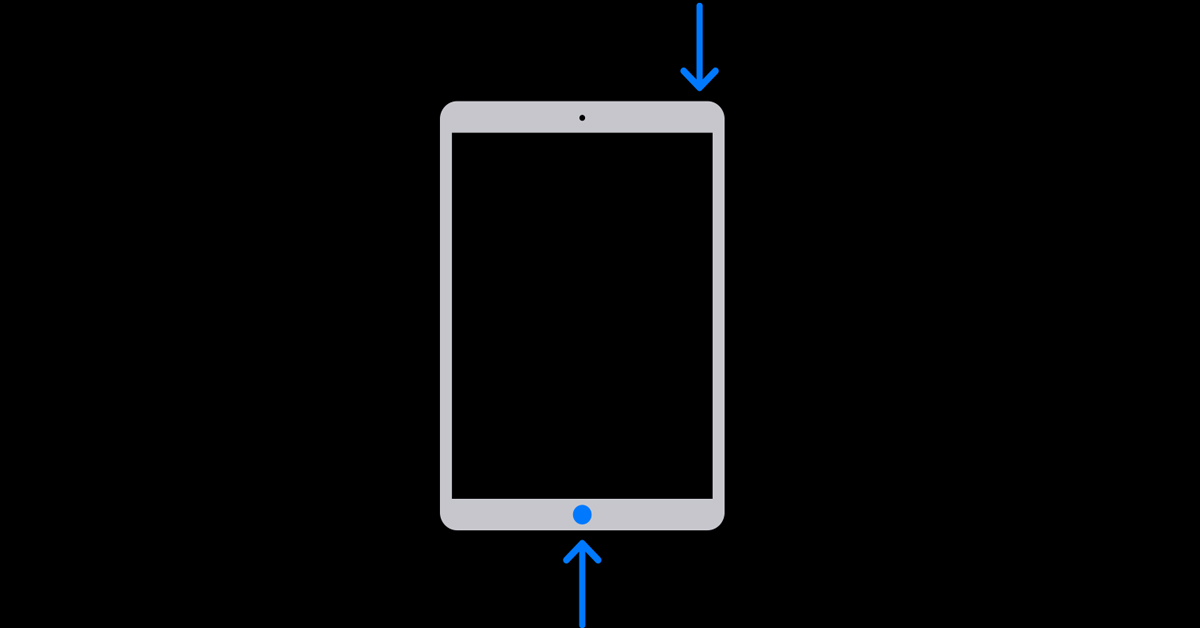
If you own an iPad model with a home button, all you need to do is press and release the top button and the home button simultaneously. That’s it!

On Other iPad Models
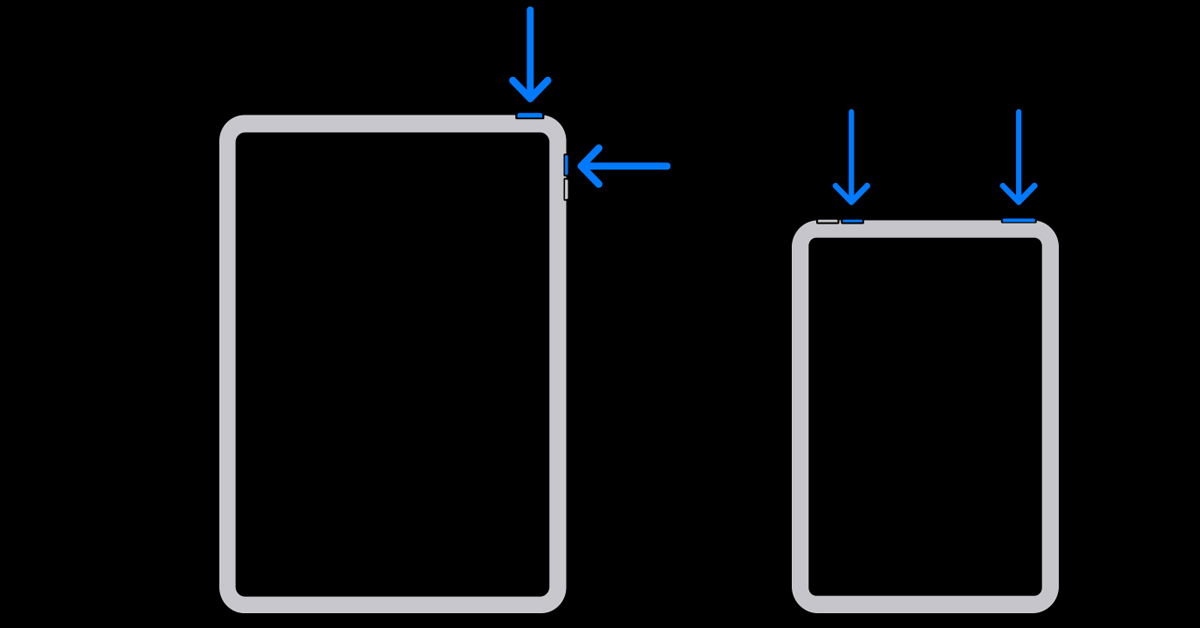
If you own an iPad model that doesn’t have a home button, you have to press and release the top button and the volume button (either one) simultaneously.

Source:
(gadgetbridge.com)
If you’re a parent of a Gen-Z child who is also an iPhone or Apple device owner, then the screen time of your child would definitely be among your primary concerns. Especially after the COVID-19 pandemic, a majority of your and your child’s time being spent now must be digital. Knowing the downsides and the health risks that come along with this exponential increase in screen time, you would surely want to limit your young one’s digital usage. Hence, we are here to help you with the various ways you can limit the screen time of your child on iPhone and how to do so. It is the little changes we implement in life that ultimately make a big difference in the long run. Agree?
Various Limits That You Can Put Via Screen Time
You can set Downtime Limits, App Limits, Communication Limits, Content and Privacy Restrictions as well as set exceptions to allow the usage of certain apps always, via the Always Allowed parameter.
All you need to do is go to Settings > Screen Time > See All Activity and you get the above-mentioned controls as your list options. Scheduling downtime allows only selected apps and phone calls to be made available for use by your child.
You can set daily limits for app categories via App Limits, control who your children can communicate with via Communication Limits and even control the type of content that your younger one can see, purchase or download from their device.
How To Limit Screen Time on iPhone
You can either use your own device to control your child’s digital usage via Family Sharing, or you can set the required limits directly through your child’s iPhone via its Screen Time feature provided.
For the latter, you can also create a dedicated passcode so that only you can access and make changes to the settings.
Step 1: Go to Settings > Screen Time > Turn on Screen Time > This is My Child’s (device name).
Step 2: If you’re using your child’s device to set up a screen time limit for them through Family Sharing, you would have to provide your Screen Time Password in order to identify as a parent.
Step 3: You can then set up Downtime, App Limits, Content & Privacy with the limitations that you want to put on your child’s usage. That’s it!
Hence, in just a couple of clicks, you can monitor and set limits to your child’s digital activity.
Source:
gadgetbridge.com